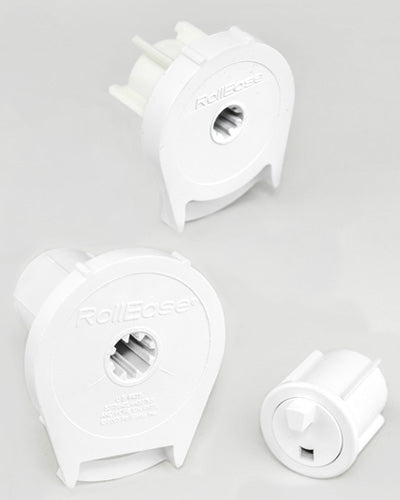
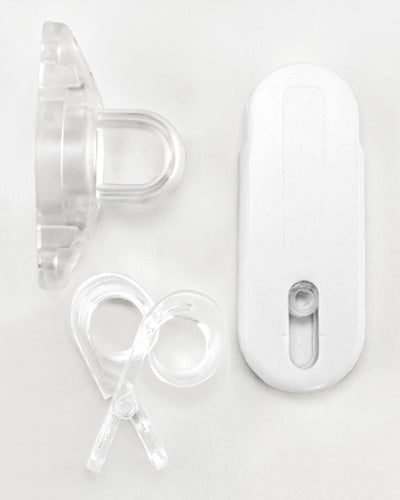
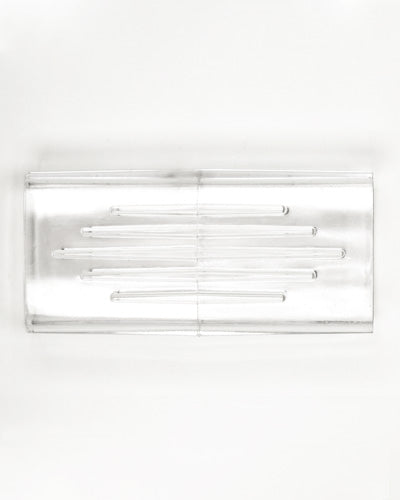
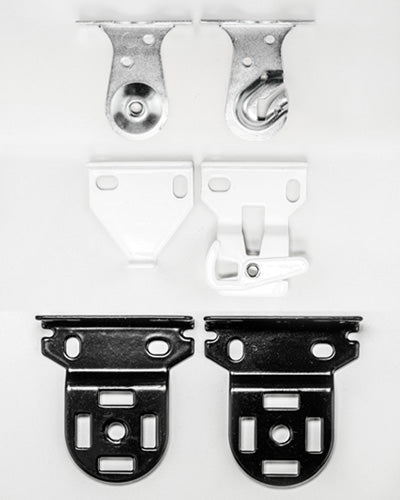
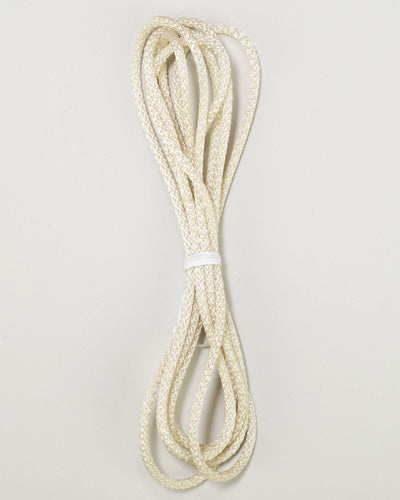
Video ID: 261002
How to Build Your Own Roller Shade
Introduction
These instructions demonstrate in detail how you can successfully build your own custom roller shade using a Fix My Blinds roller shade kit.
A Note on Safety
Kids can strangle in blind cords. To make your blinds safer for kids, keep cords out of reach and secure cord and bead chain loops. To learn more, please visit our child safety guide.
Tools Needed

Drill with Bit Set

Tape Measure

Needle Nose Pliers

Hack Saw with Miter Box
Parts Needed
Step 1 – Measure the width of your window in three places, and use the smallest of these measurements.

- Measure the length of your window in three places, and use the largest of these measurements.
- Use this guide when measuring your shade. The brackets and hardware take up ⅝” from each side.
Step 2 – Lay the decorative fabric face up on a flat surface and the liner on top.

- If you are using a liner, please note that it is going to be 4” less than the decorative fabric.
Step 3 – Iron the fabric and then mark a ½” on the side where both fabrics meet.

- Pin your marks and sew.
- Repeat for both sides.
Step 4 – Center the fabric with the liner and each side should overlap 1 ½”.

- Draw a line at the bottom ½” from the edge.
- Pin the fabrics together and sew.
Step 5 – Turn the fabric inside out.

- Lay the fabric on a flat surface with the decorative fabric facing down.
- Iron to make sure the edges are straight.
Step 6 – Fold the fabric over the hem bar 2 ½”.

- Remove the hem bar, and iron the fabric.
- Draw a line ½” from the top of the pocket and sew.
Step 7 – Mark a line ½” inside the remaining un-sewn edge and sew.

Step 8 – Mark your roller tube exactly 1 ¼” less than the overall width of the window.

- Mark the hem bar 1” less than the length of the tube.
- Cut both the tube and hem bar with a hacksaw and miter box.
Step 9 – Insert the hem bar into the bottom pocket.

Step 10 – Remove the tape from the adhesive strip on the aluminum tube.

- Carefully line up the fabric with the adhesive.
Step 11 – Roll the fabric over the top of the tube to operate as a reverse roll.

- For a standard roll, the fabric will roll off the back of the tube.
Step 12 – Insert the chain into the clutch by rotating it around the clutch gear.

- Insert your clutch into the desired side of the tube.
Step 13 – Firmly insert the end plug into the opposite side of the tube.

Step 14 – Use your pencil to mark the mounting location of the brackets.

- Drill pilot holes with ⅛” drill bit into your marked locations.
- Mount your brackets with screws.
- Repeat steps for both sides.
Step 15 – Mount your shade into the brackets and test its operation.

Step 16 – Mark and drill pilot holes for the tensioner.

- Assemble the tensioner with the smooth side of the locking insert facing out.
- Attach the spring.
Step 17 – Screw the tensioner to the wall with your drill.

- Insert the chain through the guide.
Step 18 – Cut your chain to the desired length and connect the ends.

- Use the connector to attach the ends of the chain to create a loop.
Step 19 – Roll the shade up to its highest point and take note of this bead location.

- Use needle nose pliers to squeeze a crimp onto chain.
- Roll the shade down to its lowest point and take note of this bead location.
- Use needle nose pliers to squeeze a crimp on that bead.
Step 20 – Test your shade by raising and lowering it.

- If necessary, adjust your crimp locations.