Video ID: 181003
How to Install the Old and New Delmar Pleated Shade Brackets
Introduction
Delmar no longer makes the original plastic bracket for its pleated shade. We have a direct replacement for this bracket. Whether you are using the original bracket or our metal replacement, these instructions will assist you in installing or removing the bracket from your shade.
Tools Needed

Phillips Screwdriver
Parts Needed
Step 1 – Original Part Installation.

- The original plastic Delmar bracket is installed by sliding the front plastic piece of the bracket under the rolled section on the top of the headrail.
Step 2 – Snap the bracket into the backside of the headrail by it pressing down.

- You should hear or feel the bracket snapping into place.
Step 3 – Remove the Bracket.

- Remove the bracket by pressing down on the tab and rotating the shade down and away so the bracket can disengage.
Step 4 – Metal Bracket Installation.

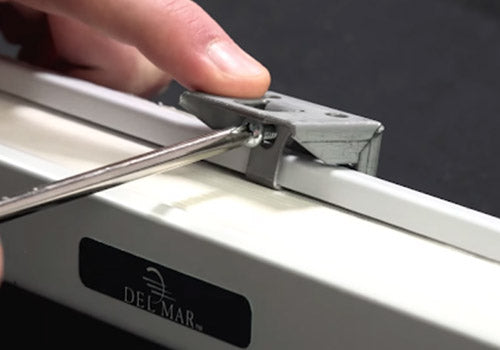
- The updated metal Delmar bracket is installed by sliding the front portion of the bracket under the rolled section on the top of the headrail.
Step 5 – Secure the Bracket.

- Secure the bracket by tightening the screw so that the metal tab is tight against the underside of the back of the headrail.
- After tightening, make sure the tab is flush to the bottom lip of the headrail.
Step 6 – Remove the Bracket.

- Remove the bracket by loosening the screw and rotating the shade down and away from the bracket.


