Video ID: 381010
How to Replace Decomatic Vertical Blind Stems and Gears
Introduction
The Decomatic vertical blind system is one of the most popular systems because of its durability and longevity. However, it may need some simple repairs from time to time. The clips that the vanes hang from may break and the gears that rotate to vanes open and closed may need to be replaced. This guide shows how to complete those repairs on both a standard carrier and the lead carrier. For standard carriers, you can do the repair with the blind still hanging in the window. For the lead carrier, starting at Step 9, the blind will have to be removed from the window.
Tools Needed


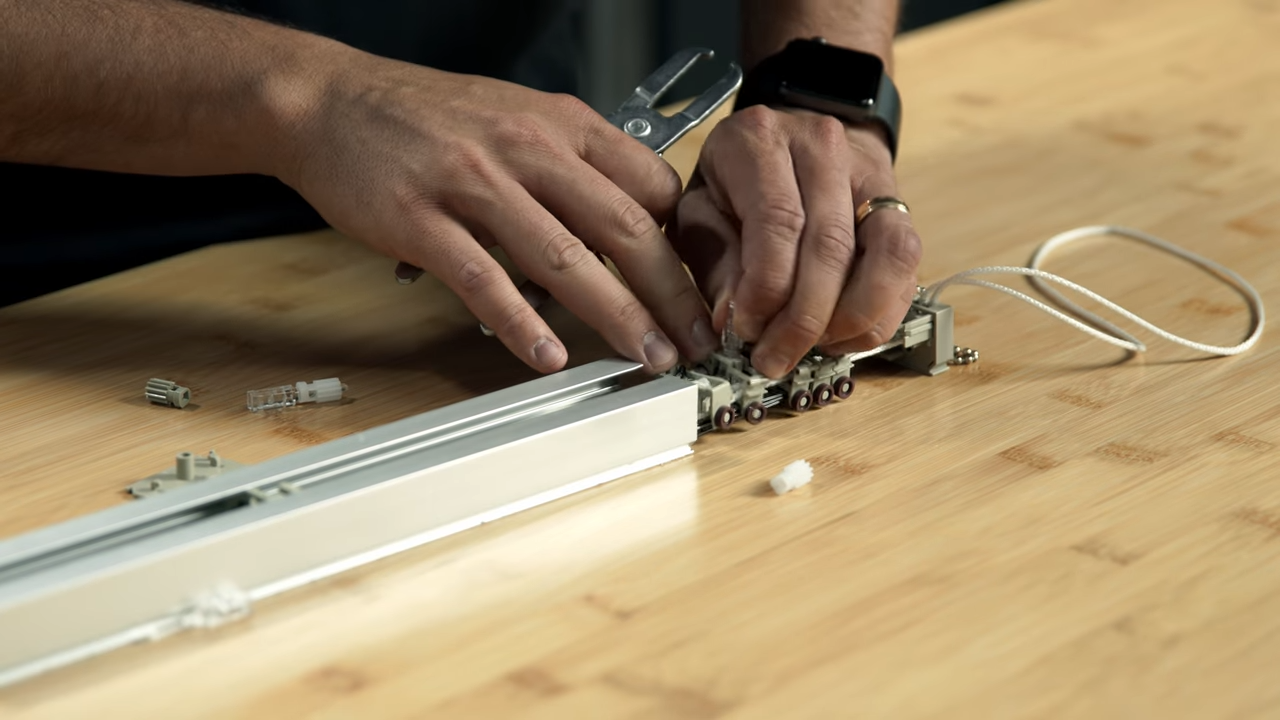
Step 1 – The stem and gear fit tightly together. There are two tabs on the side of the stem that fit into the two holes on the gear.


Step 2 – To remove the stem from the gear, place the two ends of the pliers into each of the two holes on the sides of the gear. Squeeze the pliers to depress the two tabs on the stem and pull the stem a little bit. Set the pliers down. Then, you can pull the stem free from the gear.


Step 3 – The stem and gear only fit together one way. There is a notch on the stem that fits into a nub on the gear. Those features have to be lined up for the stem to snap into the gear correctly. You can hear them snap together when they are installed properly.


Step 4 – To remove the stem from a standard carrier, make sure that you have access to the two holes on the sides of the gear where you’ll put the pliers. To gain access to these holes, twist the wand or pull the chain to rotate the gears. Place the pliers into the holes on the sides of the gear and squeeze. Pull the stem out.


Step 5 – To remove the gear, just push it out of the side of the carrier with your finger. If your blind is installed in the window, be sure that the small gear doesn’t fall down a heat register or get lost in the carpet.

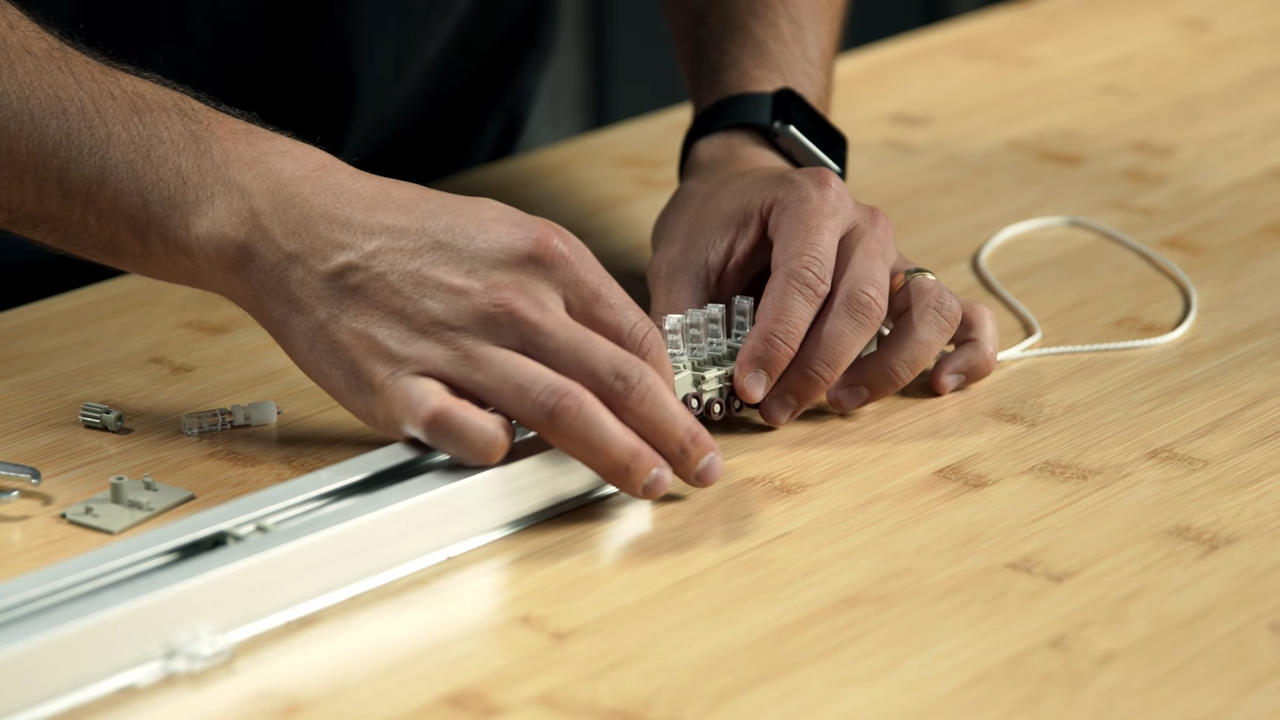
Step 6 – Before installing the new gear, check the orientation of the gears that are installed in the blind and put the new gear in at the same position. Slide the gear into place in the carrier.


Step 7 – Now, install the new stem. Line up the nub on the stem with the notch in the gear and snap it in place.


Step 8 – Make sure that all of the stems are facing the same direction. If they are not, simply twist the out-of-position stems so that they match the others.


Step 9 – It’s a little more complicated to replace the stem and gear on the lead or master carrier. The blind will need to be removed from the window for this repair because the carrier train must be removed from the headrail. First, remove the end cap on the side opposite the controls by twisting it off. No tools are needed.


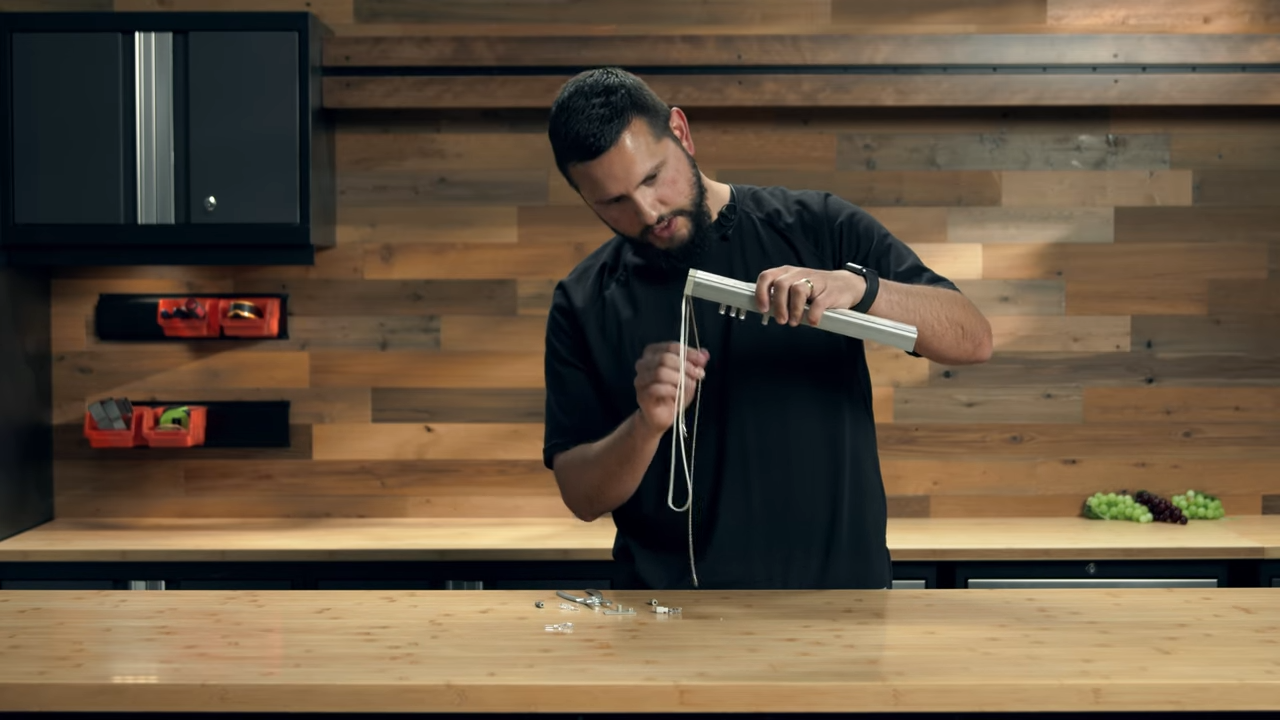
Step 10 – Draw all of the stems to the control side by pulling on the string.

Step 11 – Push on the idle end, and the control end will start to move out of the headrail. Slide it out just enough to expose the master or lead carrier.


Step 12 – Detach the lead carrier from the carrier it is attached to so you can get access to the holes in the gear. Those pieces rotate off of each other similar to how the end cap twists off of the headrail.


Step 13 – Now that the holes in the gear are exposed, use the pliers to pinch the tabs on the stem and remove it from the gear.

Step 14 – Now, push the gear out of the side of the carrier.


Step 15 – Place the new gear into the carrier, being sure to place it in the same orientation as the other gears.

Step 16 – Snap the new stem into the new gear, being sure to line up the nub on the stem with the notch in the gear. Make sure all of the stems are in alignment and facing the same direction.


Step 17 – Reattach the master carrier to the first carrier by rotating the master carrier back into place. Be careful that the string doesn’t get pinched in between the two pieces.

Step 18 – Slide the carrier train back into the headrail. Line up the carriers with the grooves in the headrail and watch out for the metal spacer straps.


Step 19 – Before reassembling the rest of the headrail, test the blind to make sure it’s working properly. Pull the cord to draw the stems across the headrail, and pull on the chain to tilt the stems.
Step 20 – Put the end cap back onto the headrail. Insert the large peg into the hole at a slight angle and rotate the cap back into place.


