Video ID: 401003
How to Replace Chain in a Rollease Roller Shade Clutch
Introduction
Bead chain is used to raise and lower a shade with a clutch mechanism. If the bead chain breaks or needs to be replaced, you will need to take the clutch out of the shade. This guide shows you how to replace the bead chain in a Rollease clutch that is used in roller shades, and some Roman and woven wood shades.
A Note on Safety
Kids can strangle in blind cords. To make your blinds safer for kids, keep cords out of reach and secure cord and bead chain loops. To learn more, please visit our child safety guide.
Tools Needed

Flat-head Screwdriver

Needle Nose Pliers
Step 1 – Remove the shade from the window, and lay it on a flat surface.

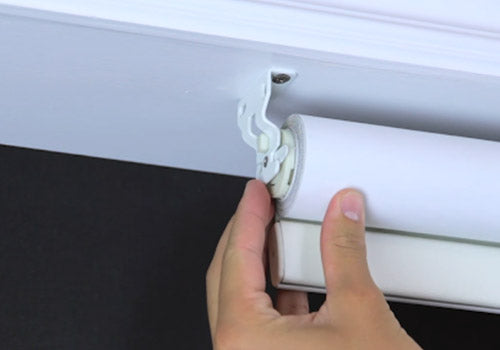
Step 2 – Remove the clutch from the roller tube.

- Use a flathead screwdriver to pry it out if necessary.
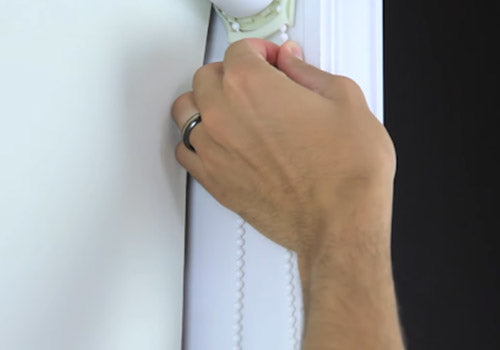
Step 3 – Insert one end of the bead chain into the cog wheel of the clutch. Pull the end of the bead chain to thread it around the clutch.

Step 4 – Pull the rest of the bead chain through the clutch.

- Leave 3” of slack toward the back of the shade if your shade is a standard roll. If your shade is a reverse roll leave 3” of slack toward the front of the shade.
- A standard roll has the shade material rolling off the back of the shade.
- A reverse roll has the shade material rolling off the front of the shade.
Step 5 – Reinstall the clutch into the roller tube.

Step 6 – Note how the clutch inserts onto the bracket, then mount the shade.

Step 7 – Make sure the idle end is securely mounted in the safety latch.

Step 8 – Pull the roller shade by pulling the short bead chain towards the back.

- If you have a reverse roll, pull the short side of the bead chain towards the front.
Step 9 – Thread the bead chain through the tension or retainer device. It’s important to secure all hanging loops.

Step 10 – Cut off any excess bead chain.

Step 11 – Install the bead chain connector.

- Make sure to leave a little slack in the bead chain so that it moves freely. It needs to be secure in the tension device, neither too tight nor too loose.
Step 12 – Roll the shade up to the desired stopping point.

Step 13 – Hold the chain at the first bead outside of the clutch.

- Make sure to leave a little slack in the bead chain so that it moves freely. It needs to be secure in the tension device, neither too tight nor too loose.
Step 14 – Pull the bead chain down, and install the bead chain crimp or stop ball two beads above the bead you are holding.

Step 15 – Pull the shade down and repeat steps 13 and 14 for the down position.

Step 16 – Test your repair.

- If the shade does not stop in the desired position, move the chain crimp or stop ball up or down accordingly.
- If your shade has metal chain crimps, use a needle nose plier to attach and remove the chain crimps.


