Video ID: 181005
How to Restring a Hunter Douglas Duette Cellular Honeycomb Shade
Introduction
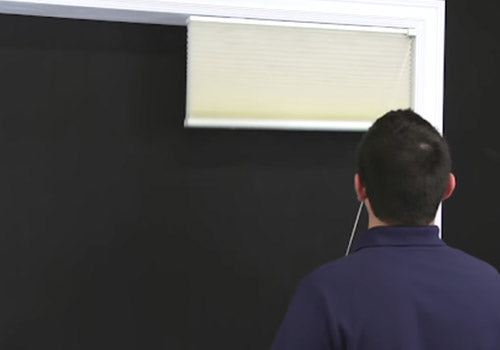
The string in your blind can become damaged for multiple reasons. You do not have to always replace your shade when this happens. You can simply restring your shade using this instructional video that covers how to restring a Hunter Douglas, Alta, M&B, or Applause cellular honeycomb shade.
A Note on Safety
Kids can strangle in blind cords. To make your blinds safer for kids, keep cords out of reach and secure cord and bead chain loops. To learn more, please visit our child safety guide.
Tools Needed

Scissors

Phillips Screwdriver

Flat-head Screwdriver

Tape Measure

Needle-nose Pliers
Step 1 – Measure the length and width of the shade, and cut the strings you’ll need for this repair.

- Use the formula to determine the total amount of string need for your repair:
2x the length + the width multiplied by the number of lift strings.
Step 2 – Loosen the Phillips screws on the brackets behind the shades two full turns.

Step 3 – Remove the shade from your window, and lay it on a flat surface.

- The shade will pull out towards you when removing.
Step 4 – Remove the condensers and tassels, and set them aside.

- Your condensers and tassels may look different from those shown in the video.
Step 5 – Remove the cord lock and end cap from the top rail.

Step 6 – Slide the top rail off of the fabric.

Step 7 – Turn the shade over.

Step 8 – Use pliers to pull the string in the bottom rail pocket and ferrule out of the shade.

- Remove the ferrule from the string, and set it to the side for reuse.
Step 9 – Pull the old strings out of the shade and discard them.

Step 10 – Thread the new string through the eye of the restring needle. Starting at the bottom rail, push the needle up through the fabric.

Step 11 – Thread the end of the string through the ferrule, leaving about an inch of string to tie it off.

Step 12 – Pull the string through to seat the ferrule into the pocket in the bottom rail.

- Repeat these steps for all other lift strings.
Step 13 – Turn the shade over and install the cord guides.

- Thread the string through the underside of the cord guide.
- Place the cord guide into the hole punched in the fabric.
- If the guides are damaged on one side, replace them or rotate them 180 degrees.
- Direct all strings to the same side that the cord lock will be installed on.
Step 14 – Slide the top rail on to the shade fabric. Be careful not to snag the fabric.

Step 15 – Replace the headrail end cap.

Step 16 – Thread the string through the cord lock and latch.

- Make sure the string is inserted in between the two metal bales on the cord lock.
Step 17 – Insert the cord lock into the top rail.

- Make sure that the strings do not get snagged or pinched inside the headrail when installing the lock.
Step 18 – Rehang the shade.

- Slide the top front part of the shade into the brackets first.
- Make sure the bracket is seated into the slot at the front of the headrail.
- Tighten the screws to secure the bracket.
Step 19 – Test your repair.

- Raise the shade up and let it down. Make sure it locks in place correctly.
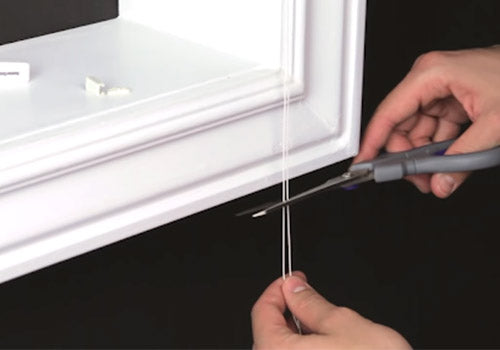
Step 20 – With the shade all the way up, cut the strings a few inches below where the shade should stop when lowered.

Step 21 – Install the condenser, tassel and pull cord.


