Video ID: 181024
How to Restring an EZ Glide Cellular Honeycomb Shade
Introduction
Internal strings in an EZ Glide shade can break over time. When this happens, the shade will need to be restrung. This guide will take you through the steps and show you how to replace the internal strings on an EZ Glide cellular shade.
A Note on Safety
Kids can strangle in blind cords. To make your blinds safer for kids, keep cords out of reach and secure cord and bead chain loops. To learn more, please visit our child safety guide.
Tools Needed

Scissors

Flat-head Screwdriver

Phillips Screwdriver

Tape Measure

Rubber Bands
Step 1 – Measure the length of shade and add six inches. This will be how long each new piece of string needs to be.

- Remove your shade by pushing in and rotating the headrail toward you.
Step 2 – Easy Glide shades always use 0.9mm cord.

- Cut all string lengths now and set them aside.
Step 3 – Lay your shade on a flat surface. Remove the bottom rail end caps with your flat-head screwdriver.

- Slide the bottom rail off.
Step 4 – Open the shade slightly by pulling on the cord loop.

- Place rubber bands on both sides of the shade to compress the fabric.
Step 5 – Use your flat-head screwdriver to release both cradle covers.

- Remove the clutch by pulling it out and moving it back and forth.
Step 6 – Lift out the tilt rod by releasing it from the side furthest from the clutch.

- Remove tilt rod and set it aside.
- Place rubber bands on both sides of the shade to compress the fabric.
Step 7 – Cut the string at the bottom of the shade, saving washers for reuse.

- Pull the strings out of the shade.
Step 8 – Remove the string from the tilt rod and discard.

- Remove the retainer clips from the tilt rod and save them for later use.
Step 9 – Thread your new cords through metal stays and washers from the bottom of the shade.

- Starting at the top of the shade, feed the wire tool down through the fabric.
Step 10 – Insert your cord into the eye of the wire tool at the bottom of the shade.

- Pull the cord through the fabric.
- Repeat steps 7-10 for all cords on the shade.
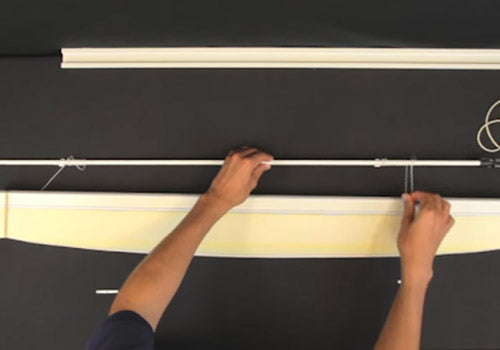
Step 11 – Reattach the tilt rod into the headrail, making sure that the cords are not pinched.

- Reinsert the clutch into the end of the headrail.
- Slide the control rod all of the way over to the clutch.
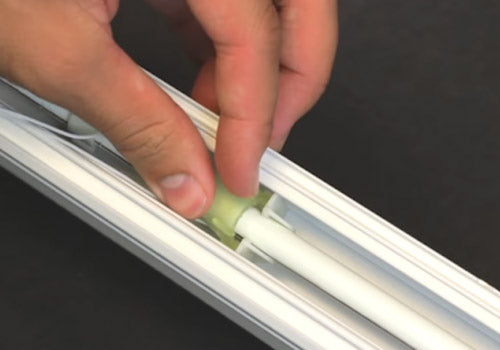
Step 12 – Note that the retainer clip has an indent where the cord is seated.

- Tie a knot in the cord leaving ½” tail and seat the cord in the retainer’s indentation.
- Snap the retainer clip on the rod about 1” from the cradle.
- Make sure the tail end of the cord is facing away from the cradle.
- Repeat Steps 11-12 for all cords in the shade.
Step 13 – Insert the cradle covers on the tilt rod.

- Replace the bottom rail and end caps.
Step 14 – With the strings hanging freely, reattach your blind to the brackets.

- Gently lower the shade.
- Raise your shade by pulling the cord loop.
Step 15 – If the shade is uneven, open one of the end caps with your screwdriver.

- Slide the bottom rail off to expose the bottom strings on the uneven side.
- Adjust the cord washer until the shade is even.
- Reattach bottom rail and end cap.
Step 16 – Test your shade by raising and lowering it.


