Video ID: 181025
How to Restring Graber and Bali Top Down Bottom Up Cellular Honeycomb Shade
Introduction
These instructions walk you through the steps of restringing your top down bottom up Bali and Graber brand cellular honeycomb shades. The instructions will guide you through repairing the new and old style shades. You may need to restring you shade if the cord is broken or damaged.
A Note on Safety
Kids can strangle in blind cords. To make your blinds safer for kids, keep cords out of reach and secure cord and bead chain loops. To learn more, please visit our child safety guide.
Tools Needed

Scissors

Flat-head Screwdriver

Phillips Screwdriver

Tape Measure

Rubber Bands

Needle

Tape
Step 1 – Note which strings are for the top-down function and which strings are for the bottom-up function.

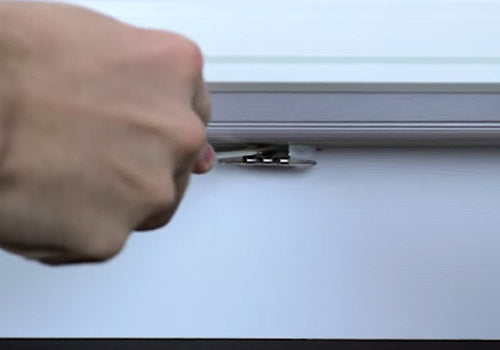
- Remove your shades from the brackets. Stick the blade of a flathead screwdriver between the bracket and the back of the headrail. Twist the screwdriver and the shade will disengage from the brackets.
- If your brackets are plastic, push the tab up on the back of the bracket and pull the shade forward.
Step 2 – Lay your shade on a flat surface and compress with rubber bands if needed.

- Remove the tassels and condensers, and set them aside.
Step 3 – Remove end caps on the top, middle and bottom rails. Set them aside.

- Slide the bottom rail off.
- Cut the bottom strings, and save washers for later use.
- Cut the middle rail strings.
Step 4 – Remove the lift strings from the blind by them pulling out.

- Compress the middle portion of the shade with rubber bands.
Step 5 – If applicable, remove screws from the headrail.

- Slide the two pieces of the top rail completely apart.
Step 6 – Measure your shade so figure the proper amount of string for your repair.

- Pull the string off of the roll.
- Determine the number of lift strings in the shade.
- Note the path of your blind strings by using our diagram.
- Use the following formula to determine the amount of string needed:
[(2 x Length) +Width] x Number of Lift Strings - You will need to replace all of the lift string on the blind to ensure proper operation.
Step 7 – Cut all of your strings to the lengths needed based on your measurements.

Step 8 – Tie a double knot in one of the strings leaving a half inch tail.

- Slide the middle rail off exposing the cord guide, and remove the string.
Step 9 – Thread the string with the knot through the cord guide in the middle rail. The clear cord guide is the older style.

- Thread the string with the knot through the indented portion of the cord guide in the middle rail. The white cord guide is the newer style.
Step 10 – Thread a washer on to each string, fold the string in half, and tie a knot.

- Use the wire restring tool to feed the string through the fabric of your shade.
- Feed your string through the eye of the wire tool and pull it through the shade until the washer is seated against the fabric.
Step 11 – Reattach the bottom rail by sliding it onto the fabric.

- Compress the shade with rubber bands.
Step 12 – Examine the grommets on the top headrail portion of the shade.

- If your grommet is showing wear, then use your flathead to rotate it a one-quarter turn.
Step 13 – Feed the strings through the headrail, and lay them toward the corresponding side.

- Use a small piece of tape to temporarily hold the strings in place.
- Confirm that your strings are going the correct direction, and that they are not crossed.
Step 14 – Slide the top portion of the headrail back on, and remove the tape.

- Thread your wire tool through the cord lock and pull your strings through the eye of the wire.
- Thread the wire through the front rollers of the lock, and pull your strings through.
- Use the same process to string your lock on the opposite side.
Step 15 – For the newer style lock, thread the wire through the lock and pull your strings through the side of the lock.

- Insert the wire tool through the front of the lock, and pull the strings through.
Step 16 – Reattach screws in the headrail.

- Reattach the end caps.
- Reattach your blind to the wall brackets.
Step 17 – Test your repair by lowering and lifting the shade.

- With the shade pulled up, reattach the top half of the condenser to the strings approximately 2” below where your shade should stop when its lowered.
Step 18 – Tie a knot in the pull strings just below your condenser.

- Trim your strings approximately ½” below the knot.
- Attach the bottom half of the condenser, pull cord, and tassels.


