Video ID: 201003
How to Restring Standard Operated Woven Wood Shade
Introduction
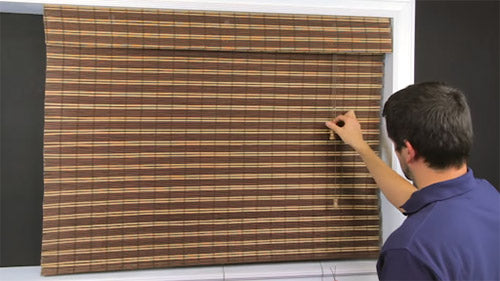
If your woven wood shade is not raising and lowering properly, and a lift string is frayed or broken the shade will need to be restrung. This guide will walk you through step by step on how to remove and replace the lift string on a woven wood shade with cord locks.
A Note on Safety
Kids can strangle in blind cords. To make your blinds safer for kids, keep cords out of reach and secure cord and bead chain loops. To learn more, please visit our child safety guide.
Tools Needed

Scissors

Tape Measure

Lighter
Step 1 – Determine the length of string needed for this repair.

- The hooks on the top of the clips will snap onto the headrail.
- Measure the length and width of the blind.
- Determine the number of lift strings in this blind.
- Use the following formula to determine the amount of string needed:
[(2 x Length) +Width] x Number of Lift Strings - You will need to replace all of the lift string on the blind to ensure proper operation.
Step 2 – Cut the sections of new lift string.

For strings that are broken or missing, follow steps 3 through 10. For any string that is still intact, go to step 11.
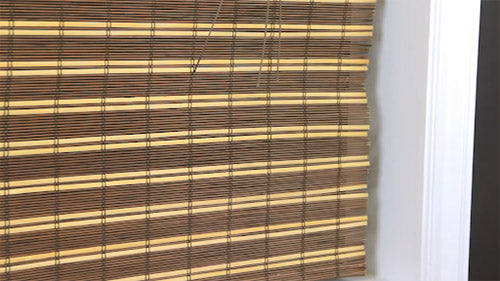
Step 3 – Reach behind the shade, and thread a new lift string through the eyelets on the back.

Step 4 – Thread the lift string through the grommet at the top of the shade.

Step 5 – Thread the lift string through the cord idlers.

- The hooks on the top of the clips will snap onto the headrail.
- Measure the length and width of the blind.
- Determine the number of lift strings in this blind.
- Use the following formula to determine the amount of string needed:
[(2 x Length) +Width] x Number of Lift Strings - You will need to replace all of the lift string on the blind to ensure proper operation.
Step 6 – Thread the wire restring tool through the cord lock.

Step 7 – Insert the lift string through the eye of the wire tool, and pull the it through the cord lock.

Step 8 – Raise the shade up and remove any old string from the bottom eyelet, cord guide or sew on ring.

Step 9 – Tie the new lift string to the bottom eyelet, cord guide or ring with a double knot.

Step 10 – Cut off any excess string.

For replacing string that is intact. Complete steps 11-16. Otherwise, skip to step 17 to finish the repair.
Step 11 – For strings that are still intact, remove them one at a time from the bottom eyelets, cord guides or rings.

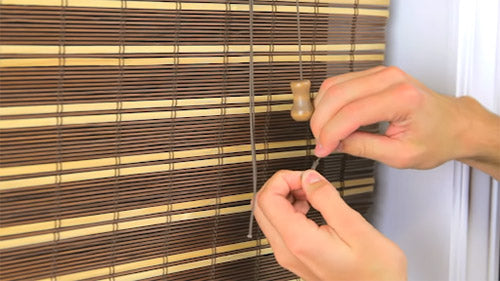
Step 12 – Fuse the ends of the old string and the new lift string together using a lighter.

- Fuse the end of one of the new strings to the existing string with a lighter.
- Once both of the ends have slightly melted, roll the strings together with your fingers to weld them together.
- You may want to wet your fingers before rolling the string as the melted string will be hot.
Step 13 – Repeat step 12 for all of the other intact strings.

Step 14 – Pull the strings through the blind, leaving some slack on the bottom.

Step 15 – Tie the end of the new lift strings to the corresponding eyelets, guides or rings.

Step 16 – Cut off excess string from the eyelets.

- Fuse the end of one of the new strings to the existing string with a lighter.
- Once both of the ends have slightly melted, roll the strings together with your fingers to weld them together.
- You may want to wet your fingers before rolling the string as the melted string will be hot.
Step 17 – Cut off all the strings evenly at the desired length.

Step 18 – Attach safety washers onto the lift strings an inch or two below the cord lock.

Step 19 – Attach the tassels, and cut off any excess string.

Step 20 – Test your repair.


